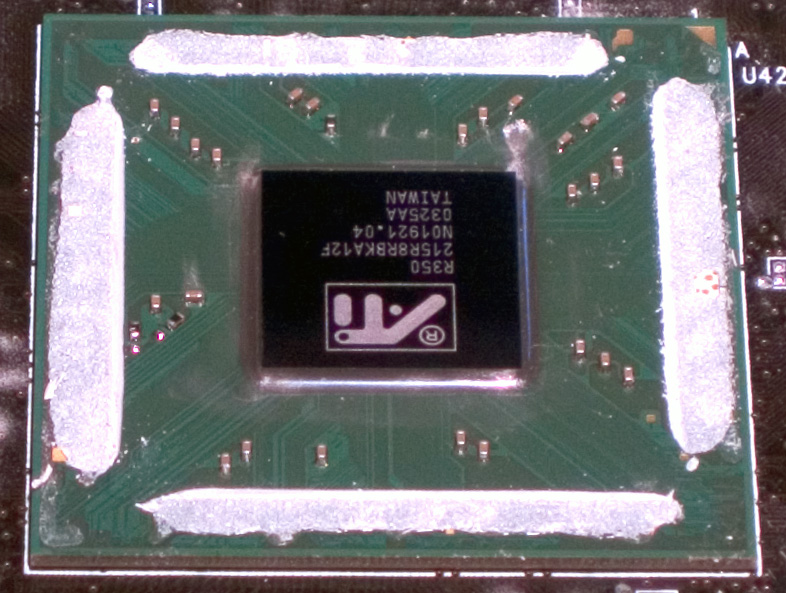
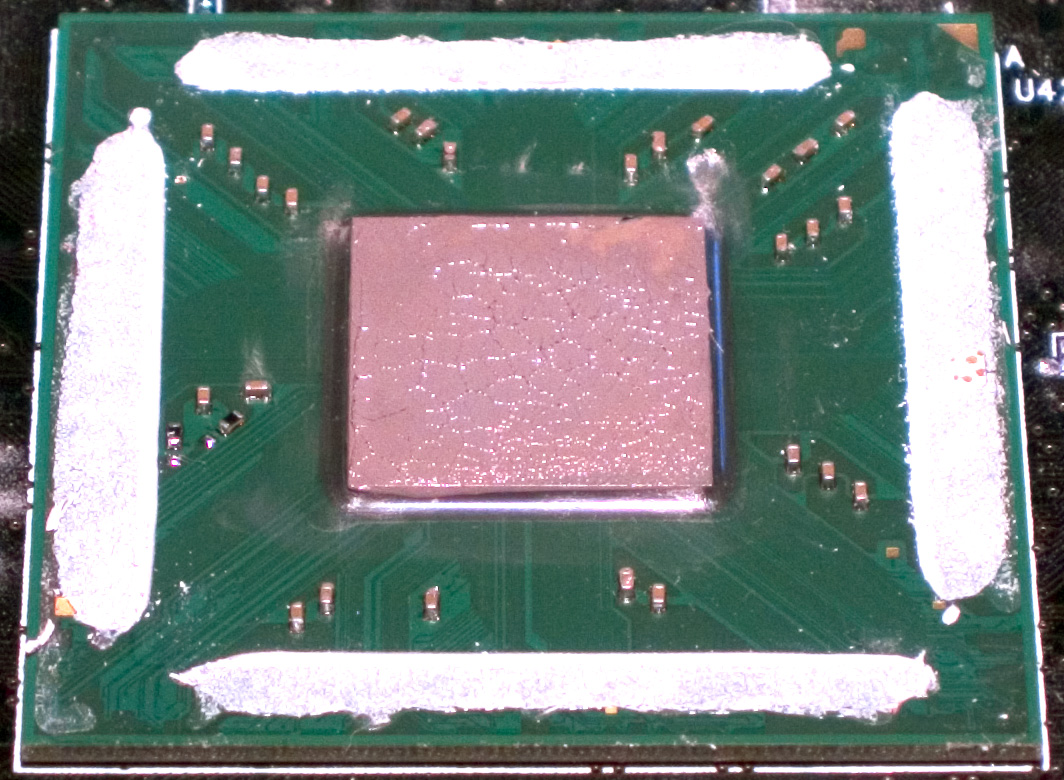
This is how the VPU core looks after a good cleaning, and ATi's shim removed;
you can see the leftover materal on the packaging where the metal frame was.
aPPLYING
tHERMAL
iNTERFACE
mATERIAL...
...the NgTechnik Way!
I
decided to write up a brief little article on a good method of applying TIM
(thermal interface material). For this article, I used the Radeon 9800 and an
Iceberq 4 heatsink. The pictures came out a little off-colored due to my
little lighting experimentation (wanted to see how much I can compensate with
the automatic settings in RAW mode to deal with my peculiar, "white," light
lamp), but for reference I am applying Arctic Silver V using a plastic spoon.
Step One: Clean your surfaces...
I use 70% isopropyl alcohol to clean my heatsink and core
surfaces:
This is how the VPU core looks after a good cleaning, and ATi's shim removed;
you can see the leftover materal on the packaging where the metal frame was.
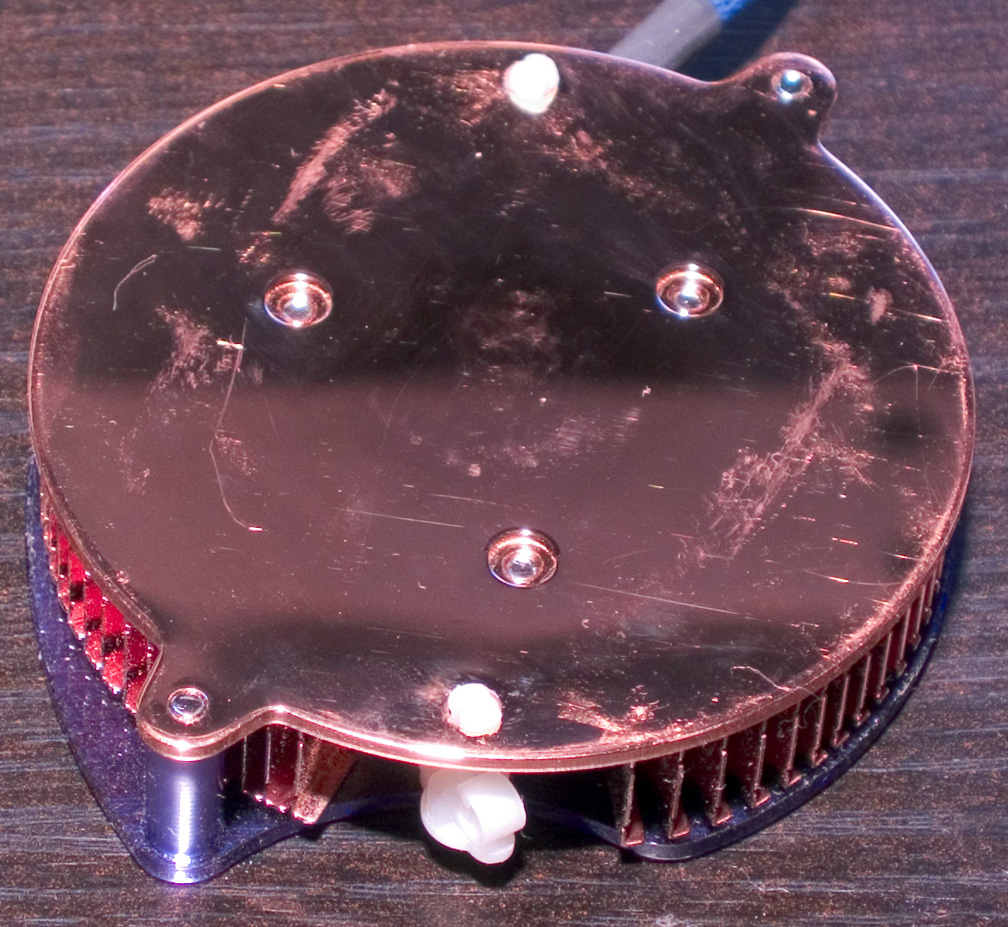
This is how the bottom of my Iceberq 4 looks after cleaning.
It comes from the factory with a mirror smooth finish; the scratches are my own
fault
(I know, I know--stupid move. Live and learn, as they say...).
The Iceberq 4 normally is clean and faultless.
Step Two: Apply a minimalist amount
of TIM to the center of the sink...
Use a firm, smooth tool that has been cleaned properly just
like the core and the heatsink; again, I personally use a plastic spoon that I
completely dispose of after use; for reference,
I utilized a total volume of less than 1/2 grain of North Carolina long-grain
rice worth of TIM across both surfaces
(I only squeezed out TIM once, on the sink, and used the leftovers from the
spoon for the core!!!). PLEASE NOTE that that amount is for THIS chip!
For a chip with heatspreader like P4 or K8, you must use more and for something
with a tiny die like Thoroughbred, you might use less; use your sensibility to
judge; with practice, it will become more natural. I apply the thinnest possible layer of material to both
surfaces as part of my technique:
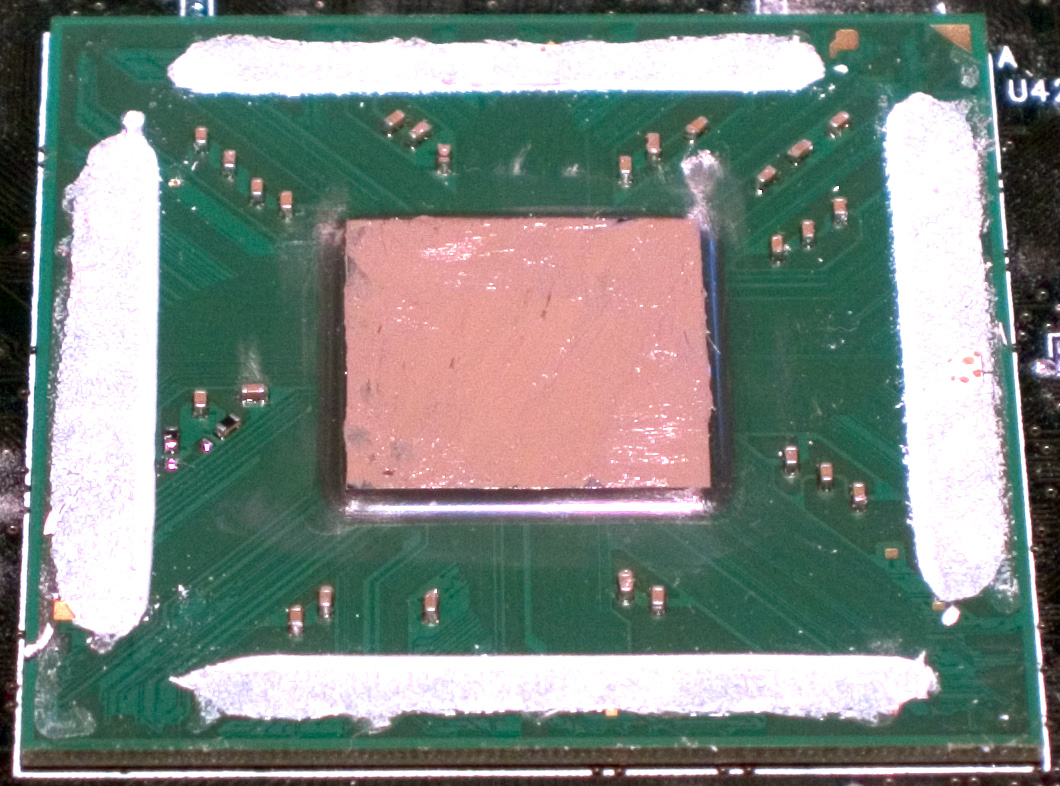
Here is the VPU core after my application of TIM...
I place a minute amount of TIM to the center and use a spreading motion out to
the edges,
like spreading butter on toast. Just like spreading butter on toast, you
put just enough and spread away,
but you don't want excessive overflow at the lip; that would make a greasy mess
of breakfast! Excess material should be,
"lifted," off and away, not just spread off the core to dribble down the
edge; excess is less of a problem for myself and will be same
for you once you've practiced this style of application enough. You
can actually see the pattern of my motions across the surface
if you look carefully enough. For this example, actually, I squeezed a minute
amount onto the sink, did my spread job on it,
and then did this core using only the residual
TIM left on my spoon from doing the sink!
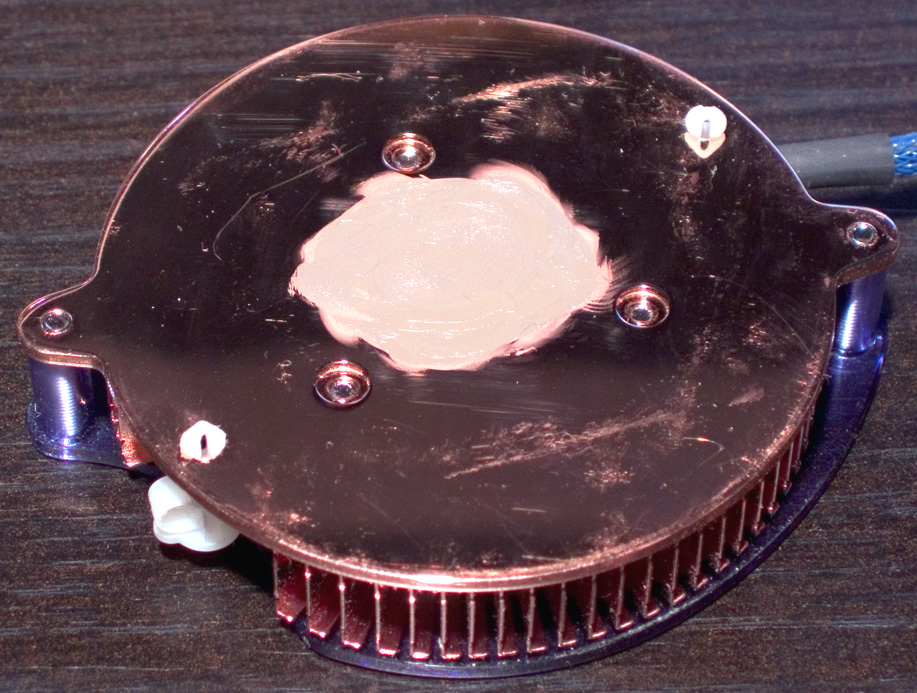
Now we have the bottom of the heatsink. Instead of the, "butter-spreading,"
style I use on the core,
I apply extremely heavy pressure with my plastic spoon and go in a circular
motion in order to spread it out as thinly as possible.
This is the reason why I use a plastic spoon instead of something metal; if I
applied it my way with a metal tool, I would scratch the sink,
and that would be an extreme no-no!
You can just make out my circular motions; the TIM fades
off at the edges, it's so thin.
Step Three: Install the sink...
While I firmly believe the virtually perfect application of
the virtually perfect amount of TIM is sufficient for the absolute optimum
effect (nothing in existence is absolutely, positively
perfect perfect
![]() ),
I still like to use a special motion when installing the sink. I place the sink
on top of the chip, align it so that it's in a position that's exactly as it
will be once firmly clipped on, then apply a small amount of force and do a
couple back and forth two to three degree twists, to ensure the tightest
possible seal and to be 100% sure that there is
absolutely no excess TIM:
),
I still like to use a special motion when installing the sink. I place the sink
on top of the chip, align it so that it's in a position that's exactly as it
will be once firmly clipped on, then apply a small amount of force and do a
couple back and forth two to three degree twists, to ensure the tightest
possible seal and to be 100% sure that there is
absolutely no excess TIM:
This is how the TIM looks on the VPU after I install the sink and remove it
(for inspection or, in this case, to show you guys). The very, very fine little
peaks
that come up prove that it was extremely close to the perfect amount of TIM. If
there's lots of excess,
when you pull your sink away, the resulting, "streaming spikes," would be
larger--picture cheese pizza, piping-hot out of the brick oven.
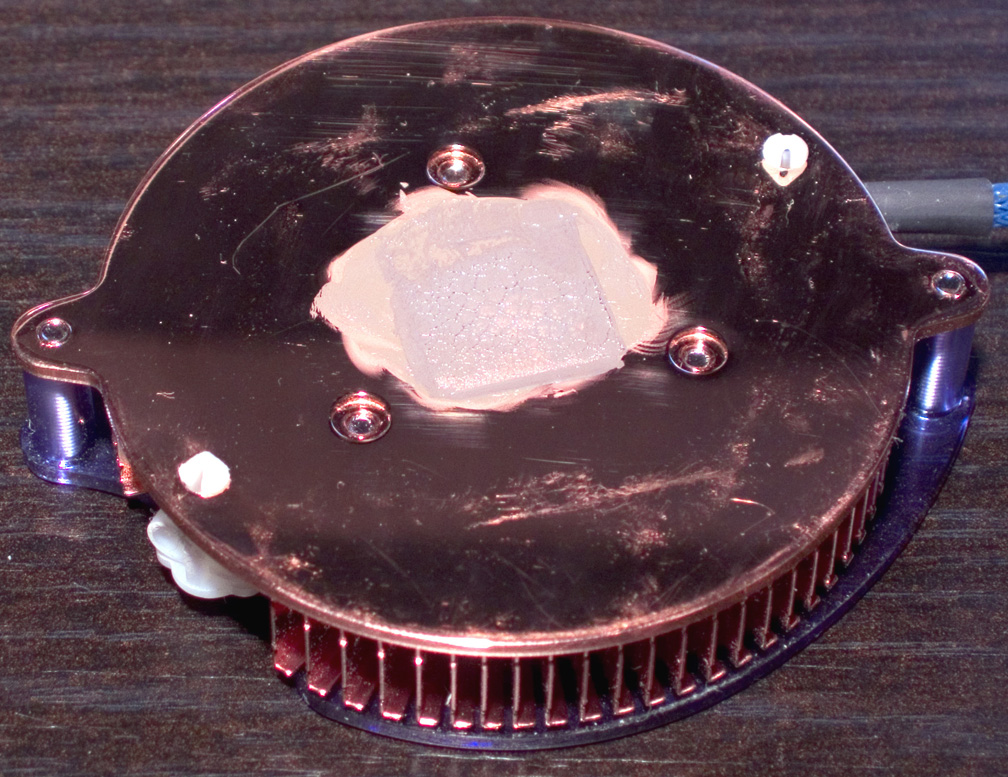
Here's the opposite side, underneath the sink. Again, notice just how little
excess TIM is left rising or streaming away from the surface.
I would like to add that for that last step, the amount of
pressure I apply to squeeze the sink down to the chip varies on the application.
For Pentium 4 or chips with heatspreaders over them, I apply a little more
pressure, particularly if the mainboard is not installed yet; I can place my
hand underneath the board and the other hand holding the sink--if the
motherboard is installed already, I use much less pressure so as not to damage
the mainboard. For bare cores that are BGA packaging, I apply less pressure than
on chips with heatspreaders, like I did for this VPU in my example. Finally, for
very sensitive chips like the Socket A chips, which are bare cores with nothing
underneath to support them (there is the hollow center of the socket underneath,
which has been cause to many broken Athlon packages), I apply extremely minor
pressure, certainly no more pressure than the heatsink itself will be applying
once installed.
If you were linked here from SilentPCReview.com, you can click here to return to the home page.
Please point all comments and inquiries to Edward Ng.